Introduction
Disassembling your Xbox Series X might seem daunting at first, but understanding how to safely take the back off your console is essential for maintenance and repair. Whether you’re dealing with overheating issues, performing repairs, or just curious about its internal configuration, knowing how to properly access the insides of your console will prevent accidental damage. This comprehensive guide walks you through each step with an emphasis on safety and clarity, demystifying the process.
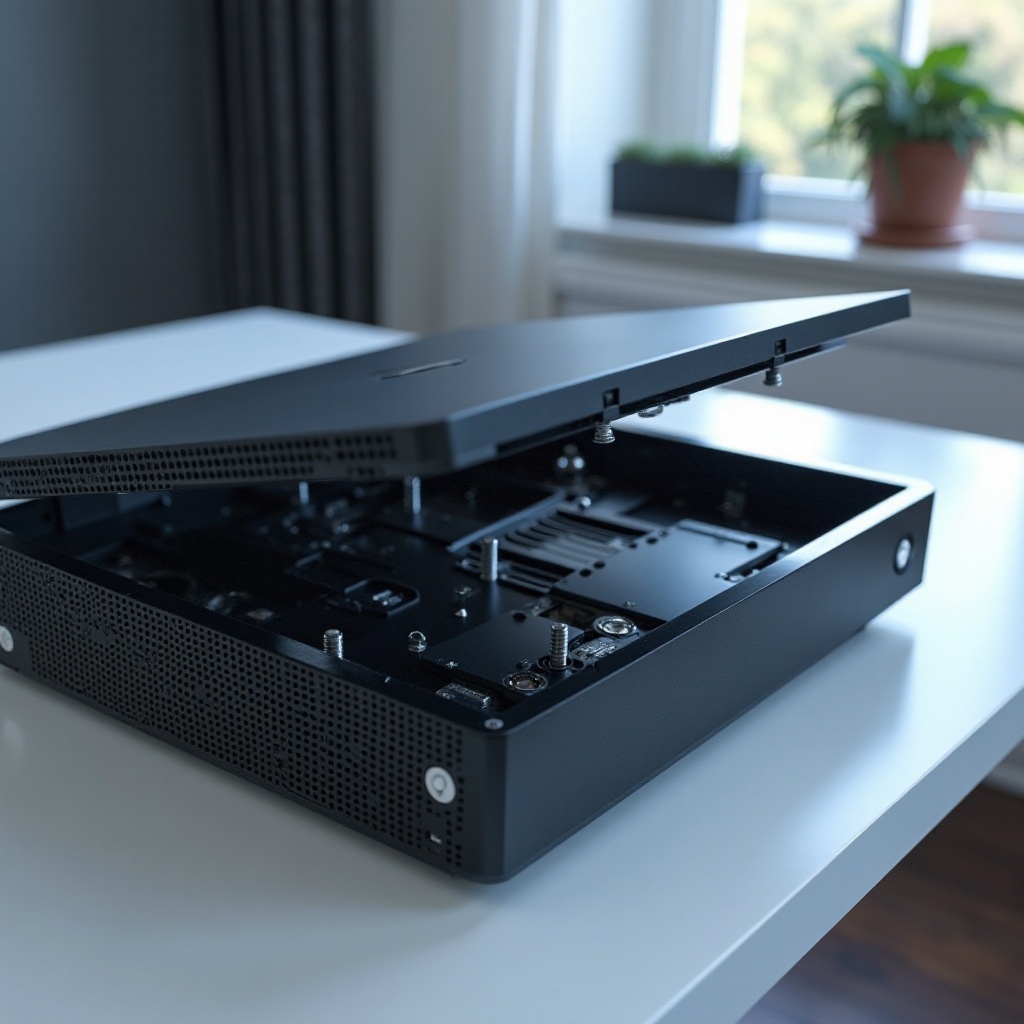
Preparing for Disassembly
Before beginning, it’s crucial to prepare adequately. Proper preparation ensures that the process is smooth and minimizes risks.
Tools Required:
- Torx T8 and T10 Screwdrivers
- Plastic Pry Tools
- Clean Microfiber Cloths
- Compressed Air Canister
- Anti-static Wristband (recommended)
Safety Precautions:
– Unplug the Xbox Series X and any connected devices.
– Work on a clean, flat, and static-free surface.
– Use an anti-static wristband to protect components from static electricity.
With the tools and safety measures in place, you’ll be ready for the next step, understanding the console’s structure for a smooth disassembly.
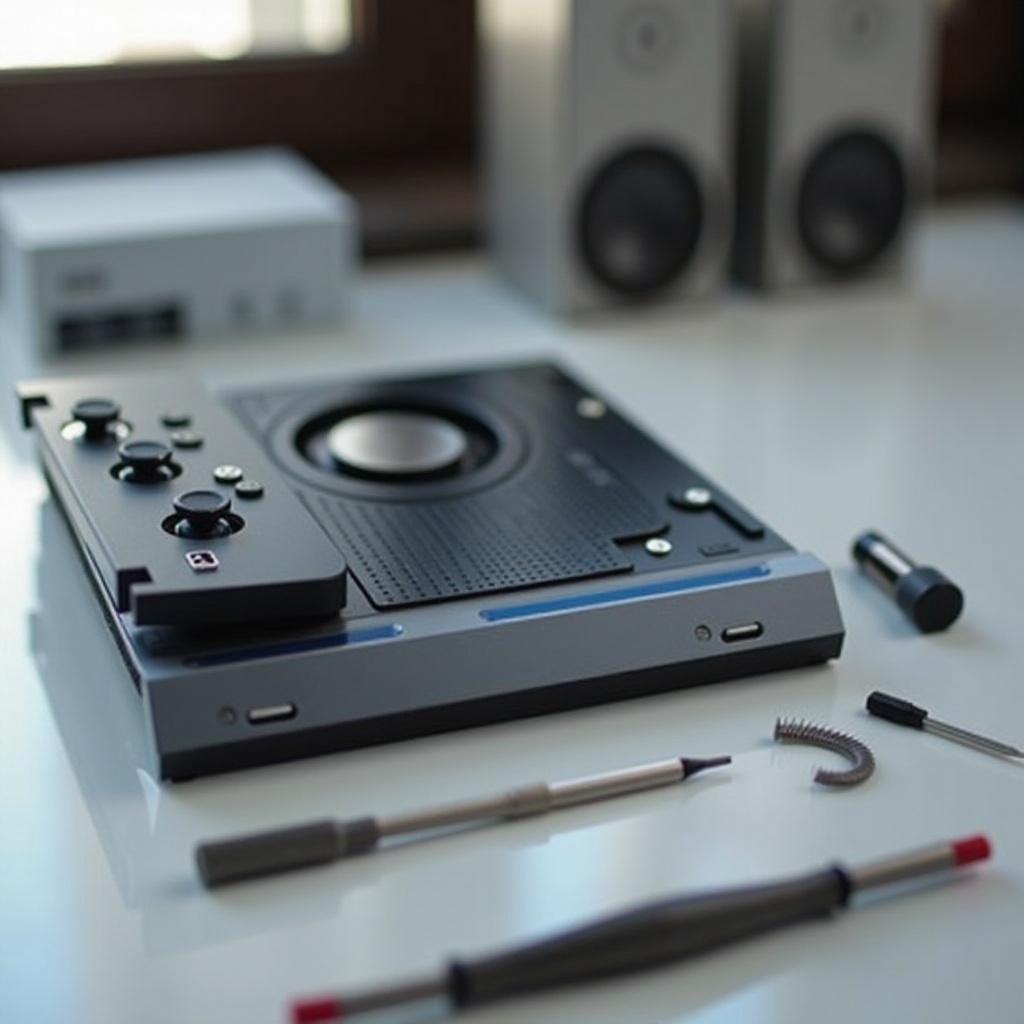
Understanding the Xbox Series X Structure
A solid grasp of the Xbox Series X design aids in the disassembly process. The console’s innovative architecture houses several components that require care when accessed.
External Design Features:
The Xbox Series X features a sleek, tower-like design with interlocking panels secured by screws. Understanding this design helps you navigate the disassembly efficiently.
Key Internal Components:
Inside, you’ll find the cooling system, power supply, motherboard, and connecting ports. Familiarizing yourself with the placement of these components can prevent unintentional damage when disassembling and reassembling.
Now that you’re familiar with the structure, let’s proceed to the detailed disassembly procedure.
Step-by-Step Guide to Removing the Back
- Removing the Outer Shell:
- Begin by removing the rubber footings on the Xbox Series X’s base to access the screws.
-
Use the Torx T8 screwdriver to unscrew the base screws.
-
Locating Key Screws and Clips:
- Slide a plastic prying tool along the edges to unclip the side panels.
-
Identify the screws holding the back panel.
-
Safely Detaching the Back Panel:
- Remove these screws gently.
- Lift the back panel slowly to avoid straining connected components.
With the back panel removed, you can perform necessary maintenance, cleaning, or repairs.
Tips for Cleaning and Maintenance
Proper maintenance is essential to extend the lifespan of your Xbox Series X. Here are some tips:
- Dust Cleaning: Use a compressed air canister to eliminate dust, especially from the cooling fan and interior vents.
- Microfiber Cloths: Wipe surfaces with a dry microfiber cloth to avoid static.
Performing regular maintenance can prevent issues like overheating and ensure optimal performance. Once you’ve completed the cleaning, it’s time to reassemble the console properly.
Reassembling Your Xbox Series X
After cleaning, follow these steps to reassemble your Xbox Series X securely:
- Align the back panel with the frame, making sure all alignments are correct before securing with screws.
- Clip the side panels back onto the console, ensuring clips are properly engaged.
- Reattach the rubber footings to conceal the screws and stabilize the console.
Testing the console post-reassembly ensures everything functions correctly. However, it’s important to be aware of potential mistakes during reassembly to avoid issues.
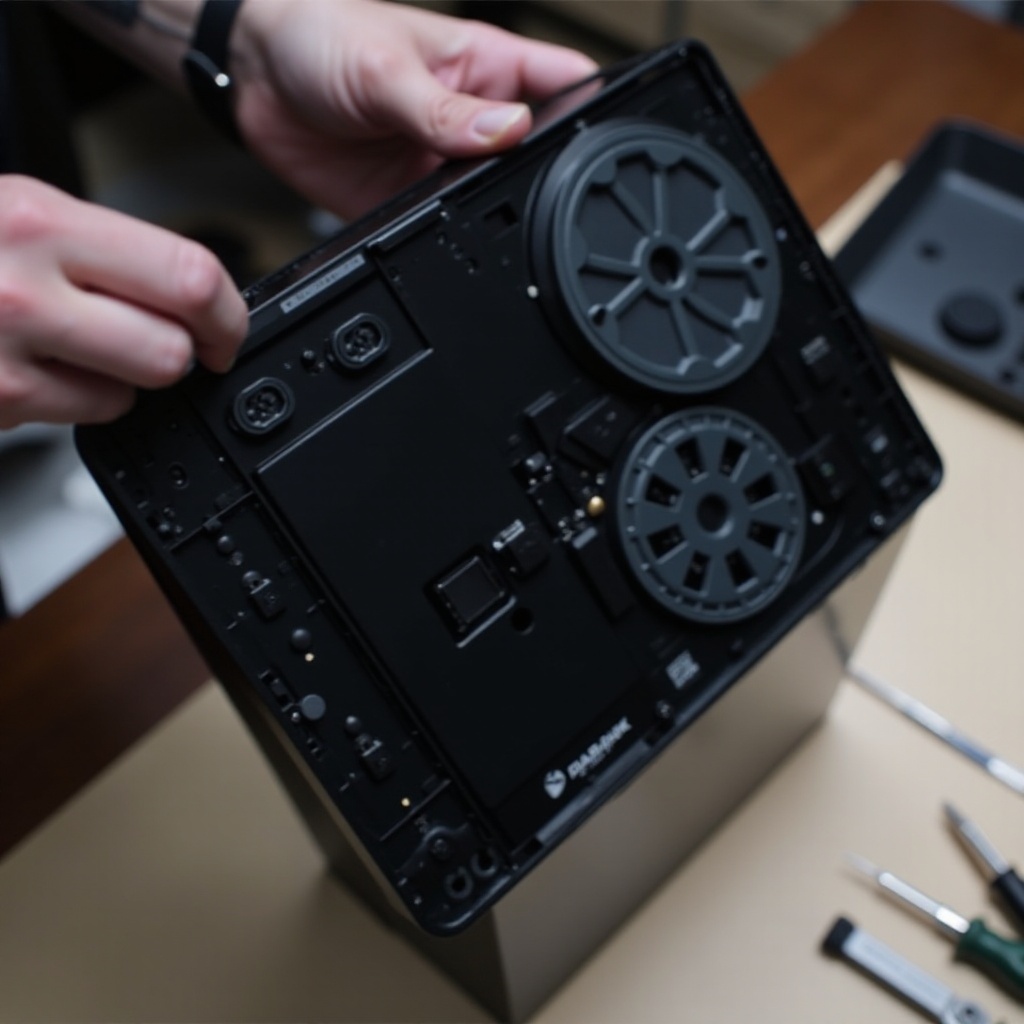
Common Mistakes to Avoid
Avoid these common pitfalls to ensure a successful disassembly and reassembly process:
- Warranty Considerations: Opening the Xbox can void its warranty. Ensure you check the warranty terms before proceeding.
- Frequent Errors: Applying too much force when removing panels can lead to damage, and using metal tools can cause scratches and static discharges.
By following these guidelines, you should be equipped to handle the Xbox Series X disassembly responsibly. Let’s conclude with some final thoughts.
Conclusion
Taking the back off your Xbox Series X requires patience, preparation, and precision. Following this guide, you’re equipped to perform necessary maintenance effectively and safely, ensuring your console’s longevity. Remember, carefulness and a methodical approach are essential when handling such intricate devices.
Frequently Asked Questions
What tools do I need to open the back of an Xbox Series X?
You will need Torx T8 and T10 screwdrivers, plastic prying tools, and possibly an anti-static wristband.
Will opening the back void my Xbox Series X warranty?
Yes, opening the back could void the warranty. Ensure you are checking the warranty terms before proceeding.
What should I do if my Xbox Series X doesn’t work after reassembly?
Make sure all parts are secured correctly and look for any disconnected components. Consult a professional if problems persist.