Introduction
A cracked and bleeding Chromebook screen can be frustrating, especially when it affects productivity. Fortunately, you don’t have to rush to a service center immediately. With the right knowledge and tools, you can fix the screen yourself. This guide will walk you through understanding the damage, the immediate steps to take, the necessary tools, and the detailed process of fixing your Chromebook screen. By the end of this article, you’ll understand when it’s time to seek professional help and how to prevent screen damage in the future.

Understanding Chromebook Screen Damage
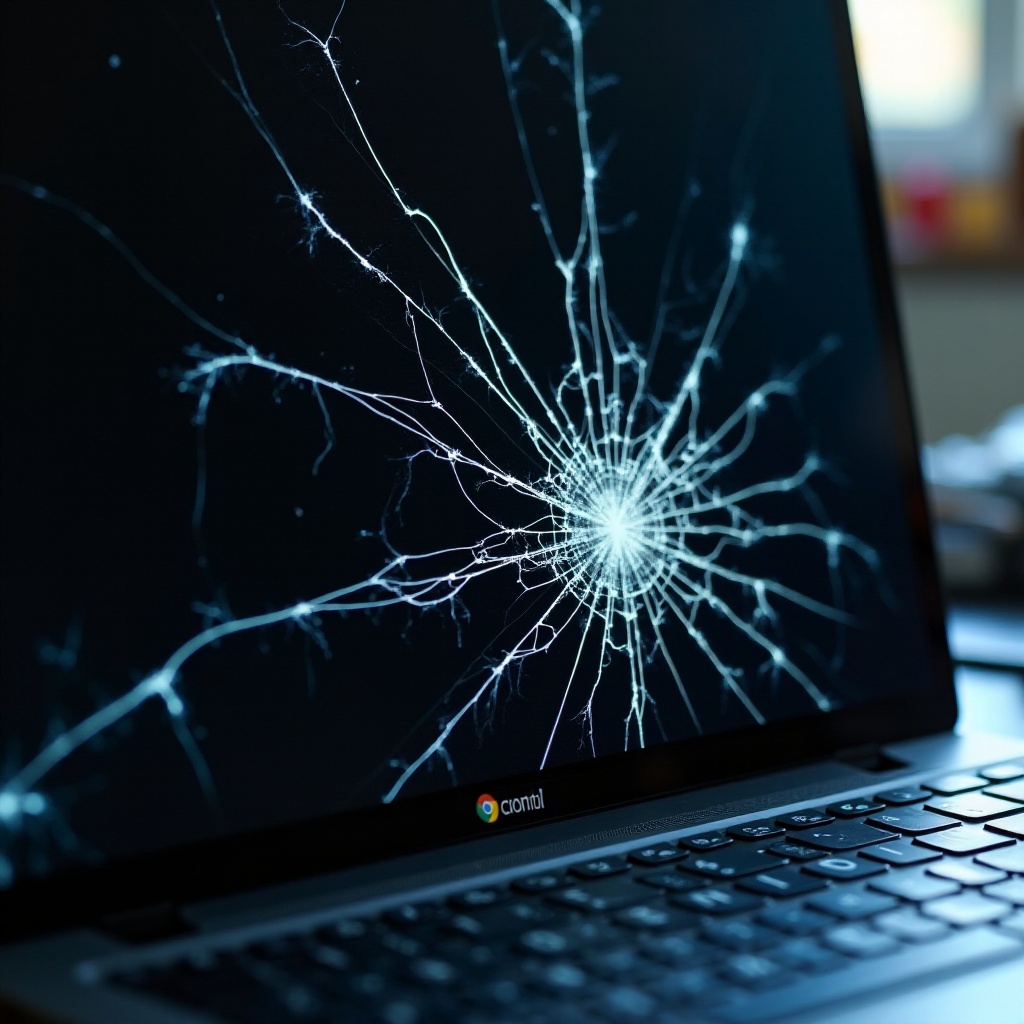
Chromebook screens are delicate and susceptible to damage. A cracked screen can be the result of accidental drops, pressure from heavy objects, or even extreme temperature changes. The ‘bleeding’ you see on the screen usually indicates that the liquid crystal display (LCD) has internal damage. When this happens, the liquid crystals may leak, leading to discoloration and unsightly lines on your screen.
Different levels of damage may require distinct approaches to repair. Surface cracks might not affect functionality, while more severe breaks can render the Chromebook useless. Understanding the extent of the damage will help you determine whether you can fix your Chromebook screen yourself or if professional assistance is necessary.
Immediate Steps to Take
As soon as you notice your Chromebook screen is cracked and bleeding, you need to take immediate action to prevent further damage:
-
Power Off: Turn off your Chromebook immediately to prevent any electrical issues or further damage.
-
Unplug: Disconnect any attached peripherals and the power adapter. This isolates the device and reduces the risk of electrical hazards.
-
Assess the Damage: Check the extent of the crack and how it affects the display. If the screen is only partially damaged, you may still be able to see some images.
-
Backup Data: If possible, connect an external monitor and back up your data to an external hard drive or cloud service. This ensures that you don’t lose important files during the repair process.
Taking these steps helps contain the damage and prepares your Chromebook for repair. Once you’ve assessed the situation, you can decide whether to attempt the repair yourself or if professional help is needed.
Tools You Will Need
To fix a cracked and bleeding Chromebook screen, gather the following tools:
- Small Phillips head screwdriver: Essential for removing screws.
- Plastic prying tools: To help snap open the casing without causing damage.
- Replacement screen: Ensure it’s the correct model for your Chromebook.
- Adhesive strips or tape: For securing the new screen in place.
- Anti-static wrist strap: To prevent any static discharge that could damage the components.
Having the right tools on hand will make the repair process smoother and reduce the risk of further damage.
Step-by-Step Guide to Fixing Your Chromebook Screen
Fixing your Chromebook screen involves several detailed steps, from preparing your workspace to reassembling your device.
Preparing Your Workspace
- Clear a large, clean workspace: This ensures you have plenty of room to lay out your tools and components.
- Ensure good lighting: Adequate lighting will help you see small screws and delicate parts.
- Ground yourself: Wearing an anti-static wrist strap and working on a grounded surface prevents static discharge from damaging your Chromebook’s internal components.
Disassembling Your Chromebook
- Remove the back cover: Use the screwdriver to remove all screws on the bottom cover of the Chromebook.
- Carefully pry open the casing: Utilize plastic prying tools to gently snap open the back cover, exposing the internal components.
- Disconnect the battery: Locate the battery and disconnect it to prevent any power flowing while you work.
Removing the Damaged Screen
- Locate the screen bezel: The bezel is the frame around your screen. Use your prying tool to gently snap it off.
- Unscrew the screen: The screen is usually held by small screws on each corner. Carefully remove these screws.
- Disconnect the screen cable: Gently detach the cable connecting the screen to the motherboard.
Installing the New Screen
- Connect the new screen’s cable: Attach the cable of your new screen to the motherboard.
- Secure the new screen: Align the new screen and screw it back into place using the screws you previously removed.
- Test the new screen: Connect the battery and briefly turn on the Chromebook to ensure the new screen works properly.
Reassembling Your Chromebook
- Turn off the device: Once you’ve verified that the new screen works, turn off the Chromebook and disconnect the battery again.
- Reattach the bezel: Carefully snap the screen bezel back into place.
- Reconnect the back cover: Replace all screws and ensure that everything fits snugly.
After ensuring everything is secure, turn on your Chromebook one last time to verify the screen replacement was successful.

When to Seek Professional Help
Understandably, not everyone is comfortable with DIY repairs. It’s important to recognize when a task is beyond your skill level. If the damage is extensive or internal components are affected beyond the screen, professional help is advisable. Also, if you don’t have the proper tools or confidence to carry out the repair, don’t risk further damage. Authorized service centers have the expertise and parts to handle complex repairs, and sometimes, seeking their help can be more cost-effective in the long run.
Common Mistakes to Avoid
When attempting to fix your Chromebook screen, avoid these common mistakes:
- Forgetting to disconnect the battery: This can lead to electric shocks and short circuits.
- Using metal tools: These can scratch or damage the internal components.
- Not grounding yourself: Static electricity can damage the motherboard and other delicate parts.
By avoiding these mistakes, you can ensure a smoother and safer repair process.
Conclusion
Fixing a cracked and bleeding Chromebook screen may seem daunting, but with the right tools, steps, and precautions, it’s achievable. Thorough preparation and understanding when to seek professional help are key. This guide provides you with all the information necessary to tackle the repair and restore your Chromebook to working condition.
Frequently Asked Questions
Can I fix a cracked Chromebook screen myself?
Yes, with the right tools and guidance, you can fix a cracked Chromebook screen yourself by following detailed steps.
How much does it cost to repair a Chromebook screen?
The cost can vary, but fixing it yourself can cost between $50 to $100 for a replacement screen, whereas professional repairs can range from $100 to $300.
How can I prevent Chromebook screen damage in the future?
Use a protective case, avoid placing heavy objects on your Chromebook, and handle it gently to prevent future damage.